
I like the distinctive look they give to the post and the blog.
If you think it is something you might like to try, here is how to do it.
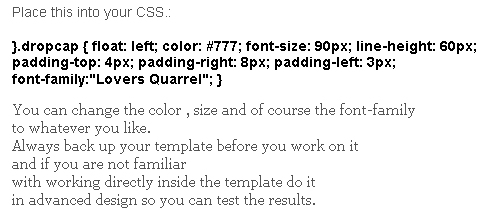
In Blogger, go to your template designer and click on advanced.
In advance scroll to the very bottom where it says "add CSS".
You can add this directly into your template if you want but if you are not used to mucking about
in there, best to do it in advanced, then preview it and remove if it does not work.
Always back up your template before you work on it for safety sake.

It is far simpler to add it in 'settings' however. If you don't want a dropcap it can be erased from the post but it is always there on each post in case you do want it.
Go to settings, then posts, comments.
There you will see Post.
You place the span class there. It will appear on each post. You enter the first letter using the html form, then you can switch back to 'compose' form.
Enlarge this picture to see how I do it. The breaks are added just for space in the post.
 |
| click to enlarge |
Now you simply add your first letter of the word like this before you post.

If you need help, just ask
 I am always willing to help.


No comments:
Post a Comment
Please leave a short hello to tell me you were here! I love hearing from you. Thanks for visiting.